As you will know, if you have followed my blog for any length of time or looked back at past pages, I like to make creatures out of socks (hence the title: SockletWorld).
And in the past I have made Sock Ninjas (can't find pics anywhere... did I not even blog them???) so to be seasonal I made a Ninja Snowman complete with cross eyebrows, scarf sash, Ninja star at his side and broom weapon...
Here he is in the day, ready for anything...
and at night arriving on a cloud of righteous vengeance!
I had hoped to do a Ninja Santa but was unable to find the red trainer socks I would need. If I find some, I'll let you know.
Monday, 29 December 2014
Sunday, 28 December 2014
A Squid for Christmas

Have you ever wanted a squid for Christmas? Well you might now.
Husband loves to draw this character he made up
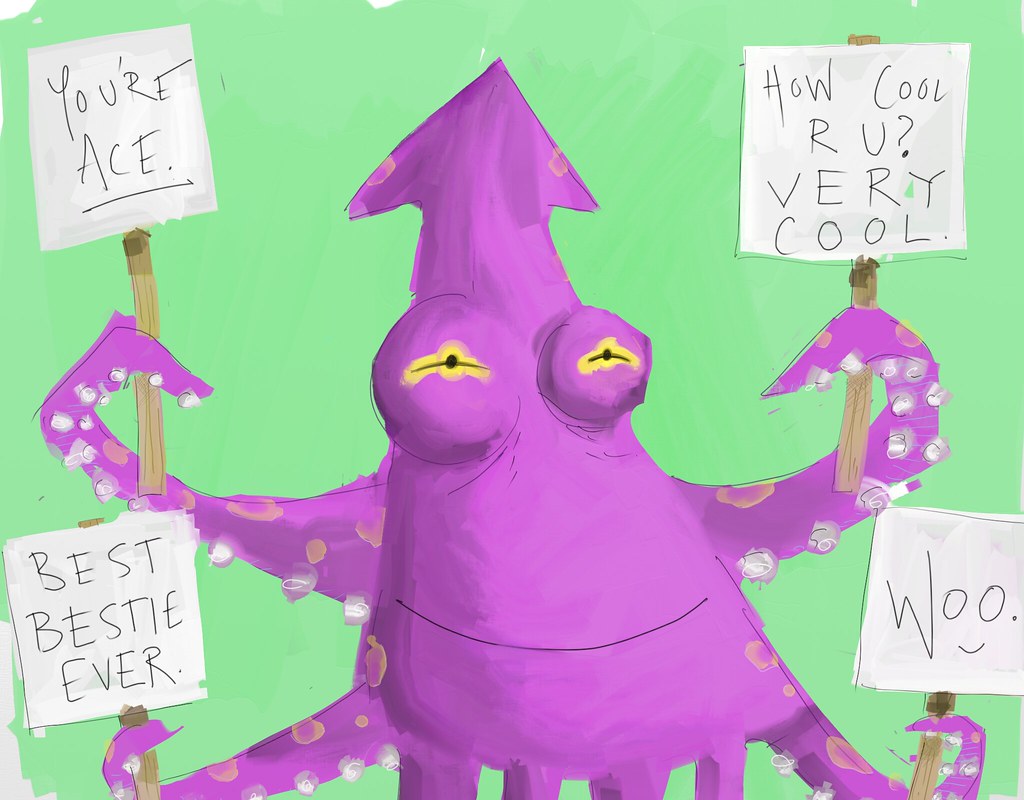
on a variety of tablet surfaces. So I sewed him one for Christmas from purple jersey fabric (jersey the stretchy fabric not the jumper or the island across the Channel).
This is how it turned out.
In the drawings he has a lot of hobbies, including playing the guitar...

but by comparison, the sewn one has taken up the banjo, see below
If you feel the Need for Squeed (Squid... sorry) all I did was draw out the rough outline of the body and 4 wavy legs from newspaper, cut that shape out twice from the fabric, then cut 2 more pieces of just the legs and about 6cm of body above them. I sewed the front body and legs to the half body and legs and repeated that again for the back of the body. That gave me 2 halves of a body, each with 4 legs complete. Then I sewed front body to back body and, hey presto, a squid with 8 legs (and a slit up the middle for stuffing and hand sewing together.
Being so stretchy a fabric it needed very little cutting on curves to stop it buckling and stuffed easily.
If you want to see more pics by husband, checkout...
and for Squid-tastic pics type squid into the search engine on that page and follow the Kerkal link
Saturday, 27 December 2014
Flea Market Nativity
While in Paris for the weekend a year or so ago, we were determined to go and explore a real French flea market. After wandering through many disappointing rails of rip off designer clothes and bags, we eventually came to the scrappy part with sheets spread out on the ground, collectors' stalls and shops and yards full of gigantic stone statuary from Chateaus.
Everyone is attracted by something different (like at car boot sales when you see a crowd, join it to find out what is so fascinating and then see nothing that interests you) and I bought a plastic tub containing loads of little china figures. They were a real mixed lot, fascinating more than beautiful, but many of them were or could be made to be nativity sets.
Here are the three I made up from them...
1. The full set
2. The Holy family with a suspicious Joseph who may actually be a monk but is playing the part and a seriously eye-browed Mary!
3. And a rather exotic Holy couple with a tiny naked infant King.
All I did this time was set them up against scrap book papers for best photo effect, but I think I shall make them each a proper stable setting for next year.
Friday, 26 December 2014
Dr Who Christmas Card
Look what my FAB Mum-in-law made me as a Christmas card!
It's decoupage: where the picture is built up of layers with 3D foam or silicone glue in between to raise them and make it have depth.
I don't know whether she knew Santa was going to feature strongly in this year's Christmas special or whether that was a happy accident, but she certainly knows my obsession with Dr Who and the Tardis... who doesn't!
What a FAB card from a wonderful crafting person! Thanks = )
Tuesday, 23 December 2014
Christmas in Covent Garden
These are the decorations in Covent Garden this year...
They are like gigantic snooker balls hanging in the air above the central well where the cafe is.
I know I'm obsessed with the Dr Who invasion theme but they really ARE like Toclafane or the eggs from Dalek casing, ready to descend and cause chaos.
The huge glitter balls fascinated me and I wondered whether, if you could zoom in far enough with a camera, you could see the whole of Covent Garden reflected in them, or even a tiny me with a camera, taking their photo?
In this one you can certainly see the yellow barrier with the crowd round the outside of it and the scattered cafe tables of people down below in the centre. Now those images are less Dr Who and much more Minecraft in their blockiness = )
Friday, 19 December 2014
Winter Wonderland
We had never been to Winter Wonderland in Hyde Park so, while in London on photo spree to take pictures of lights, we thought we'd give it a go.
We came in from the wrong direction and had to walk for ages in the dark round the edge of the park to find the entrance, with the big wheel getting slowly closer but tantalizingly out of reach.
Rides were fast and furious (it's hard to believe there are people at the end of those little string, being whirled about high in the air!)...
Lovely gaudy lighting and loud music...
and special effects with smoke. There were smaller rides for little ones...
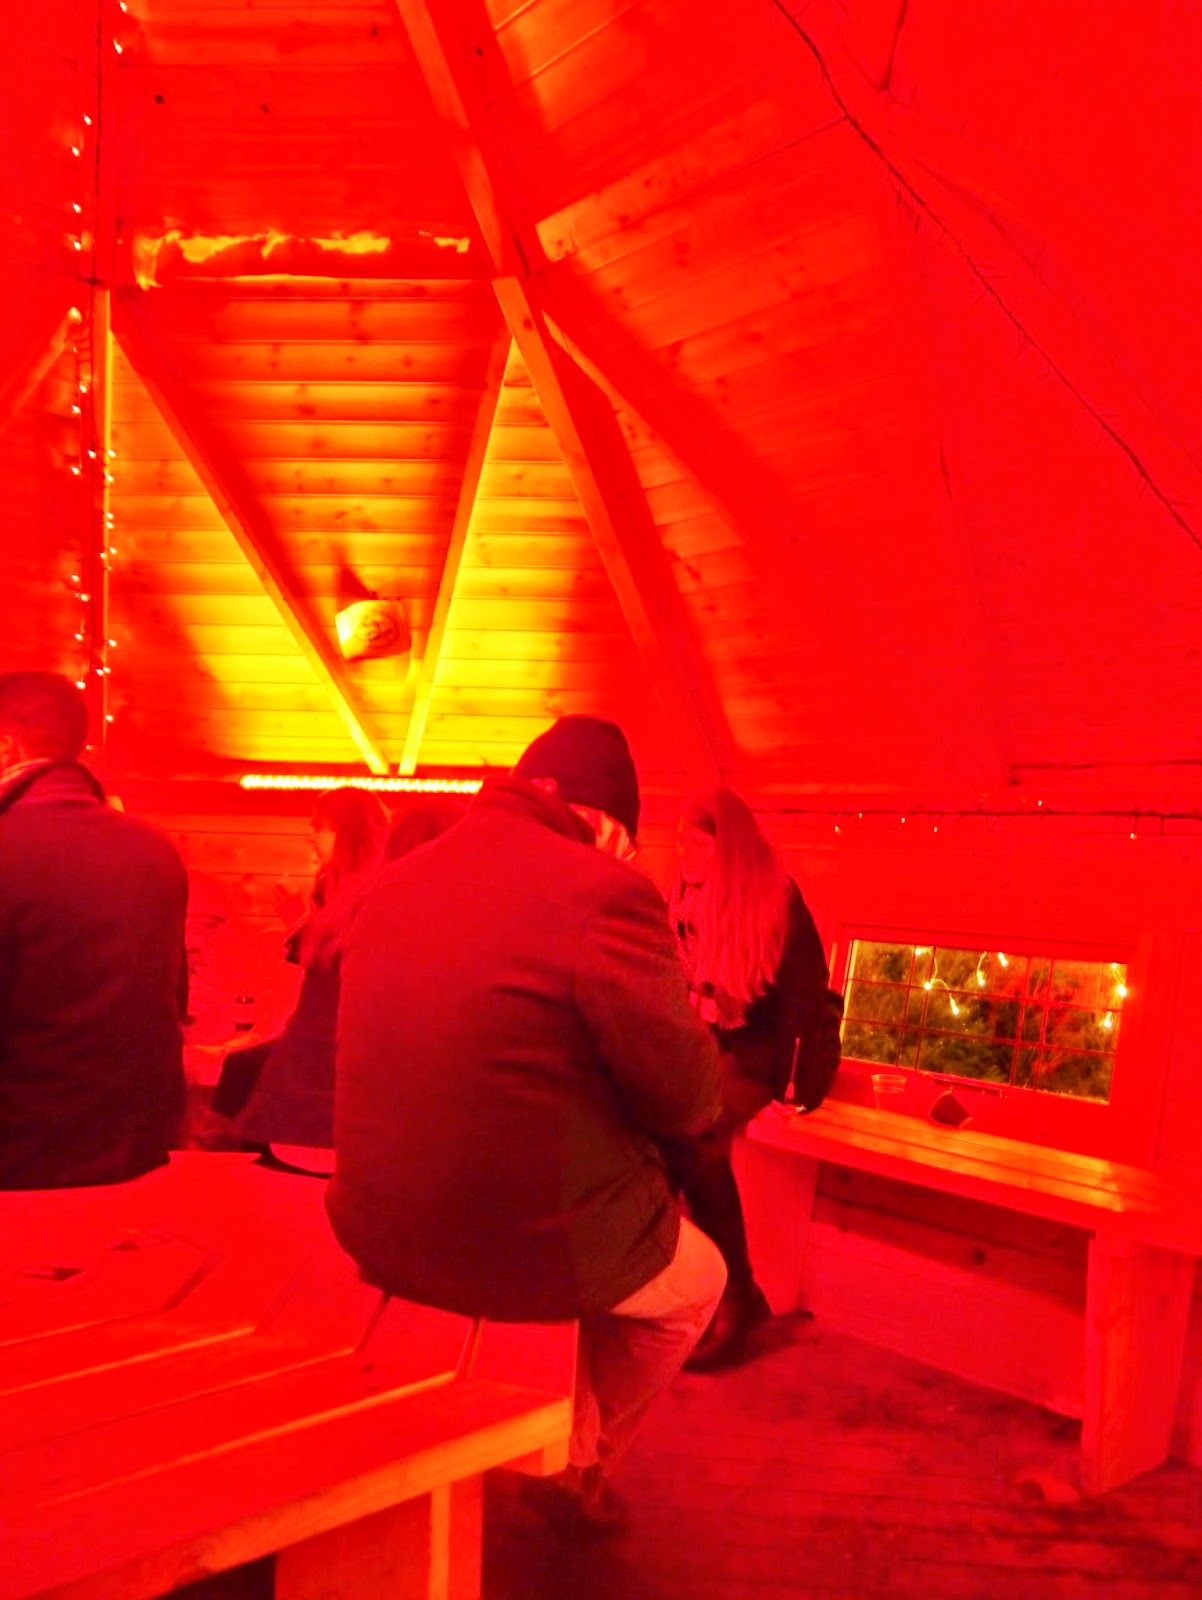
and warm little nooks for cold grown ups to drink beer or mulled wine.
Quite a few little huts were dotted around for Christmas shopping opportunities (like there are on the South Bank near the London Eye).
And that silvery wheel was just beautiful close up!
Entrance is free and you can pre-book tickets for rides online if you want to beat the queues when you arrive. We didn't ride, just wandered, photographed, ate and drank (see http://socklet-world.blogspot.co.uk/2014/12/toffee-apples-and-marshmallow-kebabs.html), then exited with the crowd the RIGHT way this time and ended up at Marble Arch. They had closed the tube station there to help disperse the crowds (and there were a jolly collection of drunk Santas) but that naturally leads you to wander up Oxford Street and warm up in the big stores, see the lights (http://socklet-world.blogspot.co.uk/2014/12/christmas-lights-in-oxford-street-2014.html ) and look at the Christmas displays in Selfridges and John Lewis.
We came in from the wrong direction and had to walk for ages in the dark round the edge of the park to find the entrance, with the big wheel getting slowly closer but tantalizingly out of reach.
There were crowds of people but very well managed by the staff to ensure they passed through the entrance quite quickly and a safe number were in the park at any one time.
Rides were fast and furious (it's hard to believe there are people at the end of those little string, being whirled about high in the air!)...
Lovely gaudy lighting and loud music...
and warm little nooks for cold grown ups to drink beer or mulled wine.
Quite a few little huts were dotted around for Christmas shopping opportunities (like there are on the South Bank near the London Eye).
And that silvery wheel was just beautiful close up!
Entrance is free and you can pre-book tickets for rides online if you want to beat the queues when you arrive. We didn't ride, just wandered, photographed, ate and drank (see http://socklet-world.blogspot.co.uk/2014/12/toffee-apples-and-marshmallow-kebabs.html), then exited with the crowd the RIGHT way this time and ended up at Marble Arch. They had closed the tube station there to help disperse the crowds (and there were a jolly collection of drunk Santas) but that naturally leads you to wander up Oxford Street and warm up in the big stores, see the lights (http://socklet-world.blogspot.co.uk/2014/12/christmas-lights-in-oxford-street-2014.html ) and look at the Christmas displays in Selfridges and John Lewis.
Wednesday, 17 December 2014
Lego Reindeer and Lego Sleigh
While up in London, near Covent Garden, there was this unexpected sight...
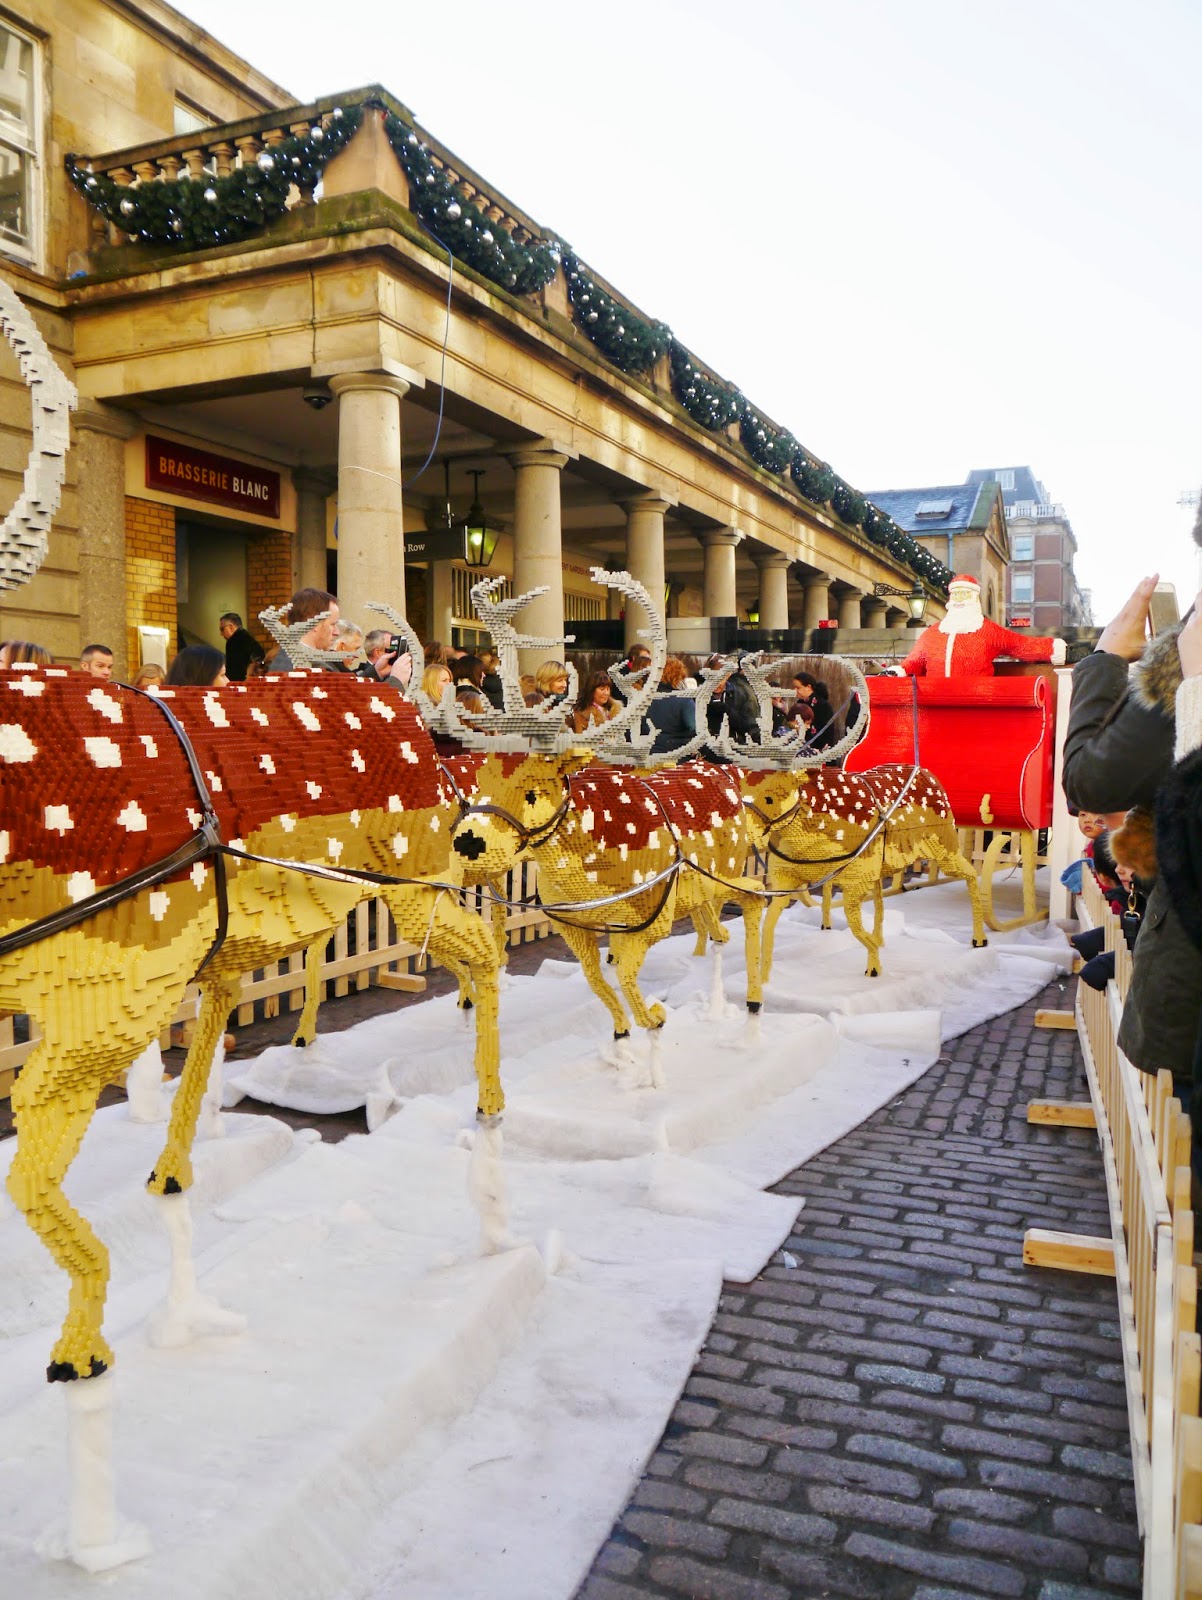
Santa in his sleigh with his reindeer... all built of Lego. The deer were fenced off but people were allowed to climb up into the sleigh and sit beside Lego Santa if they wished to.
It drew a lot of attention and attracted a lot of i-phone cameras.
Ho Ho Ho and seasons cheer to you all!
Santa in his sleigh with his reindeer... all built of Lego. The deer were fenced off but people were allowed to climb up into the sleigh and sit beside Lego Santa if they wished to.
It drew a lot of attention and attracted a lot of i-phone cameras.
Ho Ho Ho and seasons cheer to you all!
Tuesday, 16 December 2014
Toffee Apples and Marshmallow Kebabs
There were fabulous things to eat at the Winter Wonderland at Hyde Park when we went at the weekend. Let me tantalize your taste-buds with some pictures. You can either just enjoy the sight or take them as ideas to have a go at.
These are the most delicious toffee apples I ever tasted and you really get your money's worth on the toffee!
Marshmallows on barbeque sticks dipped in melted chocolate then rolled in sprinkles!
Or if you don't like toffee on your apples... dip them in melted chocolate and add any sugary coating that will stick to it! Now that's MY idea of five a day!!!
Saturday, 13 December 2014
Simple but FAB birthday Cake!
Husband's birthday was this week so we used the star shaped cake tin we usually make a Shine Sprite cake in for Mario obsessed son and baked a simple star shaped cake.
Here's the FAB and clever bit... we used a biscuit cutter to cut circular holes out of the start points and just filled the resulting holes with sweeties!
The top is just sprinkled with icing sugar but could just as easily be iced (except I didn't have enough icing sugar for that) and the extra pieces places around the edge for easy scoffing!
The sweets were Smarties, jelly beans and Haribo but could be anything of your choice and the little dark pile of sticks in the centre were some cake sparklers I found in with our birthday candles.
Here it is when they are lit too...
Of course you don't have to have sparklers, you could cut another hole out of the middle and increase the sweet quotient =)
And the idea would work well with any other shaped cake. I will certainly be doing this again!
Thursday, 11 December 2014
How to Make a Scarf out of Old Socks!
Yes you heard me... OLD SOCKS!
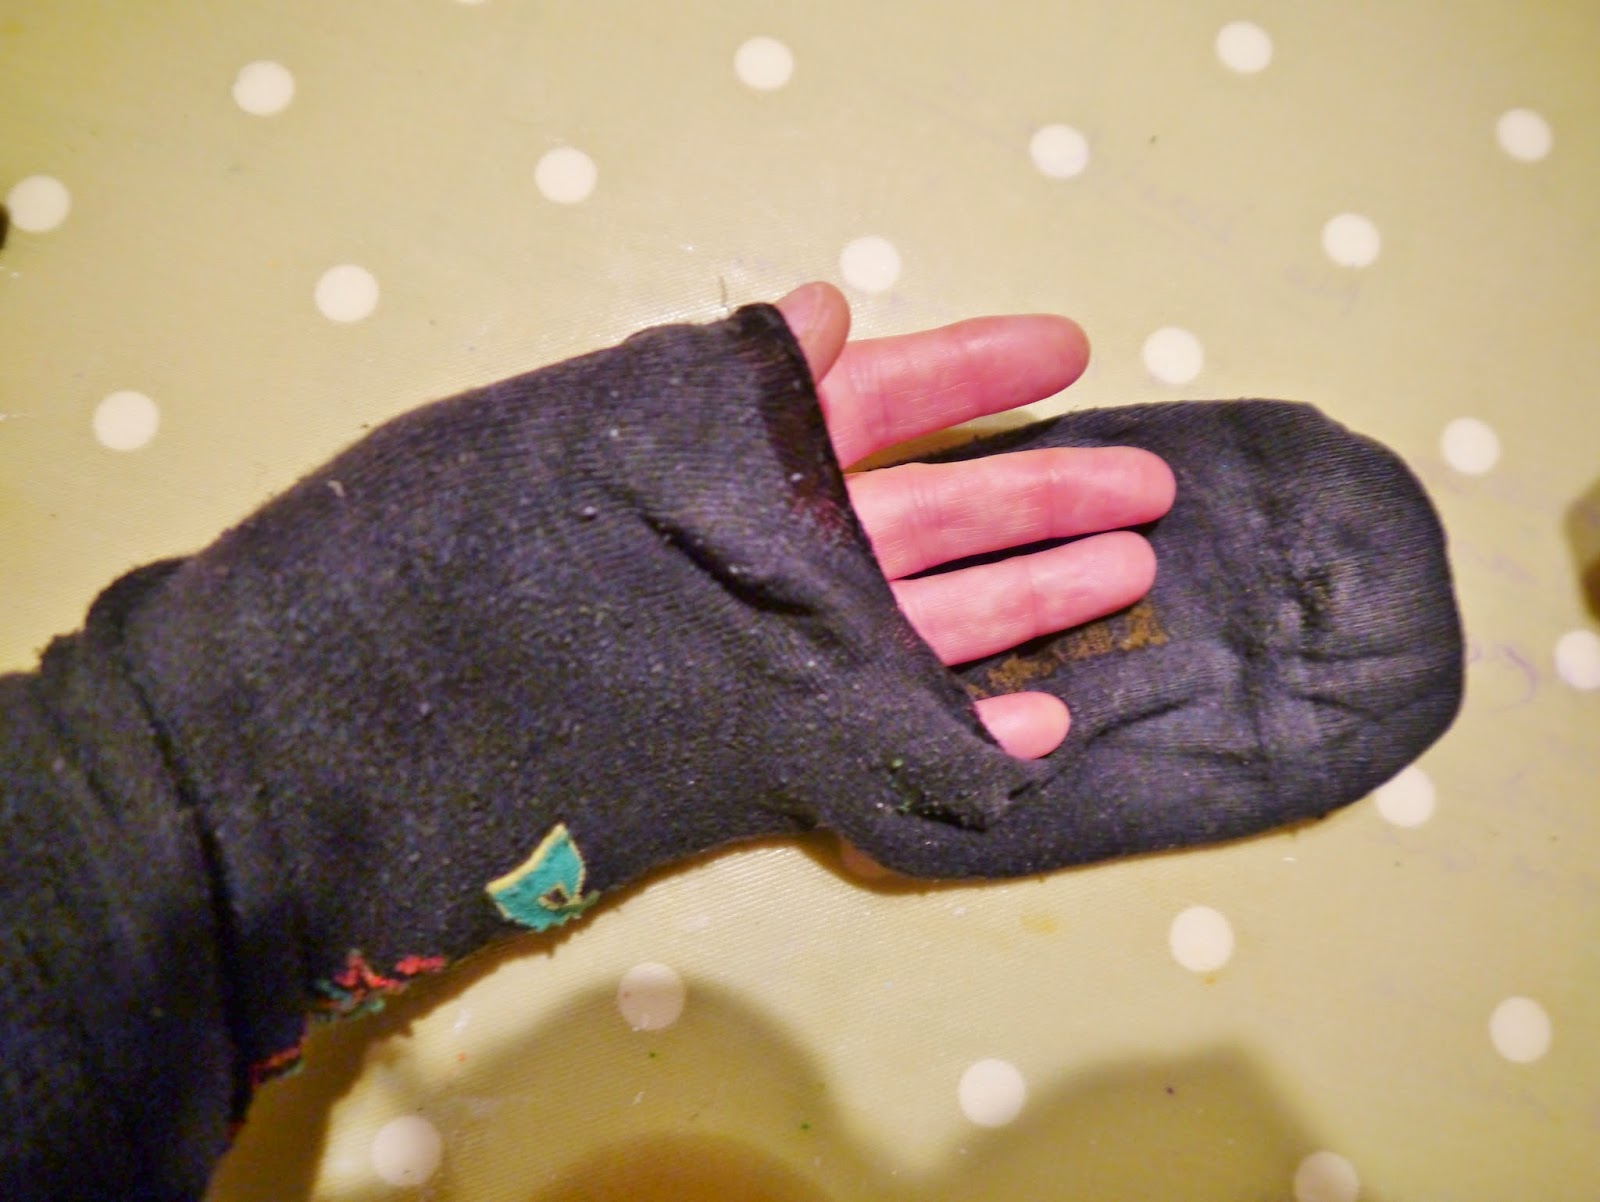
My husband is a great fan of cartoon socks and always asks for them for birthdays and Christmases, wearing them till they are holey in toe or heel.
He is sad at the idea of throwing away old favourites and, seeing as the leg part is intact and not really worn at all, here's what I did for one of this year's birthday presents.
1. Cut leg part from foot part and cut open to form a flat piece of fabric. Discard foot part entirely!
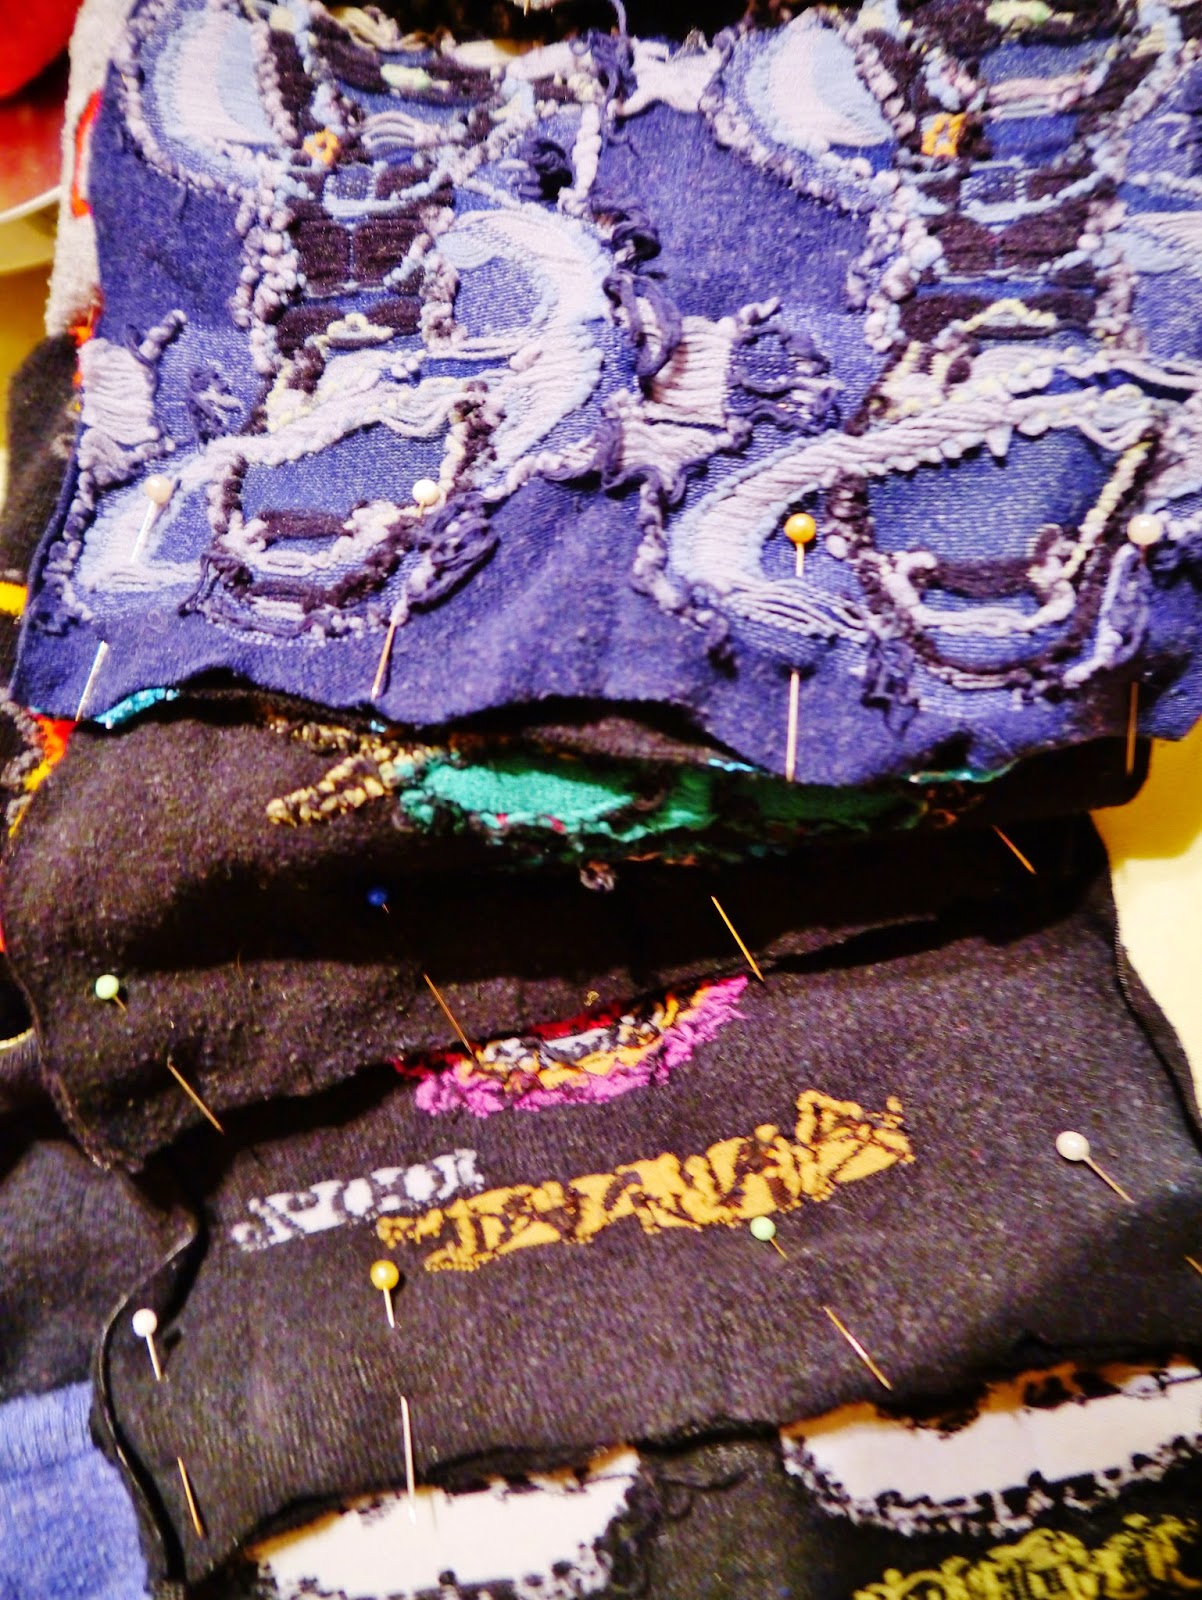
2. Repeat several times until you have a lovely pile of sock-tops.
3. Pin them together, making sure you change direction halfway along, otherwise one side of the scarf will hang with all its pictures upside-down.
4. Sew each section to the the next and continue until it is the desired length. I matched mine against an existing single layer scarf I intended to sew it to.
5. With right sides together, pin then sew the sock scarf to the existing scarf along one side, then repeat with the other. Seeing as socks are stretchy and unpredictable, adjustments may have to be made at the pinning or sewing stage stage to take account of this. My background scarf was wider than my sock scarf but this was no problem and gave a nice border to the eventual item.
6. Turn the scarf the right way out and sew the ends. I machine sewed cos it was late into the night on the day before his birthday and I wanted to finish and sleep, but you might choose to hand sew the ends across. My scarf has tassels but its a lot easier without.
Result: One happy bunny of a husband... and I still have the other matching sock tops to go... so watch this space!
Tuesday, 9 December 2014
Christmas Lights in Oxford Street 2014
Husband and I went up to London (minus children) to take photos of lights in all places and see how our cameras and the i-phone coped with taking pics of lights in the dark. Here are some of the results...
This is Oxford Street, looking like the early stages of a Toclafane invasion (sorry, most of the London lights look like Dr Who invasions of some sort to me now).
Even some of the buses had adverts lit up in Christmas lights on their sides.
This is a side street with its own theme of giant arches of light set inside perspex.
The arches cross over high above your head.
We also went to Winter Wonderland in Hyde Park... more of that another day!
Saturday, 4 October 2014
How to make a Musketeer Costume!
Husband ran a stall at Eurogamer last week and wanted to Cosplay with 2 of his colleagues dressed as Musketeers. This is the costume I sewed to help him on his way...
He already had a white shirt so I sewed lace onto the collar and cuffs.
I bought stiff red fabric for the tabbard and made a plain front with gathered shoulders on the back to give a cloak effect and a huge buckle on one shoulder for a bit of swank!
Being an artist ( or a Musk-art-teer as he called it!!!), he designed and drew the crest on the shield fabric at the front
(see https://www.youtube.com/watch?v=yLJkRIg8BR8&list=UU7zvKSgUNc2tCuxybH07Wbw )
The boots were made from this...
...fake leather which is very easy to cut and sew. I drew round his wellies with a seam allowance to spare
Sewed them up down the front and, having snipped the curves with lots of tiny snips to help them turn easily without buckling, turned them the right way out.
With my trusty Cropodile, I punched a series of holes through the fabric where the back seam would go so that they could be laced (giving ample room for legs of different sizes to wear them easily).
The sort of cuff piece at the top of the boot was a separate piece of fake leather, sewn inside and then folded back over. You have to make sure you place it the right way round before sewing so that it folds down to reveal the side you want. The back of fake leather is not very picturesque!
The laces were made from long strips of the fake leather too, flexible and surprisingly strong.
The only improvement I would make is to sew elastic to go under the fake boots to hold them in place over his comfy trainers. On the day he used curls of masking tape to stick them in place.
For pics from Eurogamer, including the outfit being modeled, follow the link to
http://kercal.wibsite.com/2014/10/02/the-next-event/
or the photostream at https://www.flickr.com/photos/56759148@N00/with/15190848140/
Subscribe to:
Comments (Atom)


